Module 01 · How it's made

Five thin layers. One finished wall.

A vinyl wall wrap is a stack: clear laminate, ink, printable film, adhesive and your wall. Here is what each layer does, how Ardor prints and installs it, and why the paint gets tested before anyone quotes a film.

Updated Oct 2026 · 13 sources

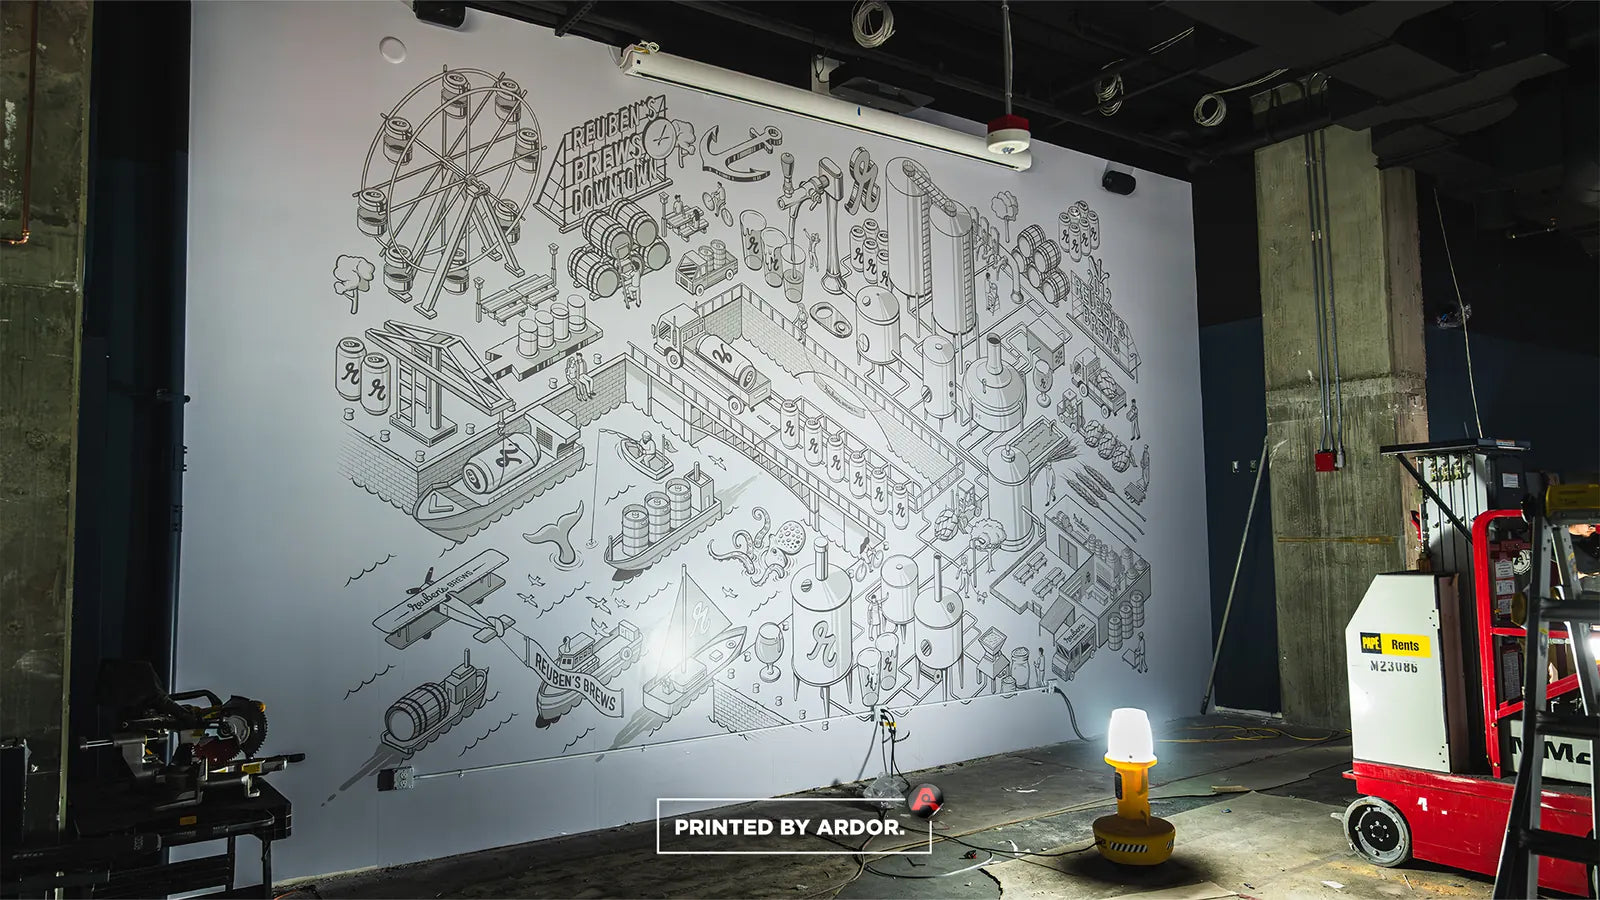
Large white wall mural with a detailed isometric line drawing of a brewery, Ferris wheel and equipment, shown during installation

The short version

A wall wrap is printed, laminated, cut and applied

Your design is printed on a roll of printable wall film. A clear laminate goes over the print to protect it. The printed sheet is cut into panels the width of the roll, then installers apply the panels to a clean, cured wall, overlapping each seam.

Four of the five layers are made in a factory and chosen by the printer. The fifth is your wall. Everything above it is only as good as the bond between paint and wall, which is why this module spends as much time on paint as on print.

Layer stack

The wall graphic stack, top to bottom

Thicknesses come from manufacturer data sheets for common wall products. Your job may use a different film, so ask which one your quote names.

Printed wall wrap 5 layers

Layers, top to bottom

Layer 1 of 5 · Avery DOL 3060/3070/3080: 3.2 mil face + 1.0 mil adhesive

Overlaminate

Protects the print from scuffs, cleaning and UV, and sets the sheen.

Comes in gloss, luster and matte. Avery rates its DOL 3000 family at 85, 55 and 8 on a 60-degree gloss meter. For textured walls, 3M pairs its IJ8624 film with 8524 luster laminate. Dry-erase and anti-graffiti laminates exist for special jobs.

Fact Some films skip this layer. Avery says its textured MPI 2630 and 2631 films should not be laminated.

Sources: Avery MPI 2600 PDS (Rev. 17); Avery DOL 3060/3070/3080 PDS; Avery MPI 2903 PDS; ORAFOL ORAJET 3628 Americas TDS; 3M IJ8624 and Envision 48C product pages; 3M Instruction Bulletin on substrate preparation; HP Latex sustainability and 730/830 printer pages. Added up, the film, adhesive and laminate values above total well under half a millimeter (our arithmetic).

Before anyone quotes a film

Fresh paint and the adhesion test

Paint has to cure before film goes on, or solvents escape under the vinyl and push it off the wall. Avery and Mactac both call for at least 7 days after the final coat, and Mactac notes that water-based latex can take 30 to 90 days to fully cure, with dark or intense colors running past 90. 3M says to follow the paint maker's cure time and to test every wall, because paints differ. Industry rule of thumb: many installers wait 2 to 4 weeks and trust the test over the calendar.

How the 3M wall adhesion test works

3M's test puts three 1 x 10 inch strips of film on the actual wall. After a 15-minute dwell, each strip is pulled back at 180 degrees, about 1 inch every 5 seconds. The average pull is compared with 3M's minimum for that adhesive. If paint comes off with a strip, the paint bond is too weak for film.

3M adhesive family (3M color code)Minimum average pull
Ultra-removable (yellow)400 g
Removable with heat (black, red, orange)500 to 600 g
Permanent (blue, green)800 g
Permanent (white)1,000 g
3M DI-NOC architectural film800 g

Source: 3M Instruction Bulletin, Application, Substrate Selection and Preparation. Avery uses a longer test: a strip left on the wall for 2 to 3 days should be moderately difficult to remove without damaging the wall. Textured walls get 3M's one-week, heat-applied test, covered in the Wall surfaces guide.

Process

From file to finished wall

These steps follow Avery, 3M, ORAFOL and Mactac install guidance. Anything marked as installer practice is experience, not manufacturer text.

  1. Step 01

    Survey, measure and proof

    Record wall sizes, outlets, switches, vents, trim and lighting, plus the texture, paint sheen and paint age. Build the art to wall size and show a proof on a photo of the wall for sign-off.

    SpecAvery: repair holes, seams and peeling paint first

  2. Step 02

    Color profile and ink limits

    Files print with the film maker's ICC profile so color lands where the proof promised. Every film has an ink-load ceiling, because too much ink can make film shrink.

    SpecAvery MPI 2600: loads above 250% may increase shrinkage

  3. Step 03

    Print

    Ardor prints wall graphics in-house on indoor or outdoor film, panel by panel, with each panel sized to the roll.

    SpecPanels sized to a 54-inch roll

  4. Step 04

    Dry and outgas

    Solvent and eco-solvent prints rest before cutting or laminating, so trapped solvent cannot bubble the laminate. HP says its water-based Latex prints need no wait.

    SpecORAFOL: 24 h minimum, 48 to 72 h ideal, at 70°F

  5. Step 05

    Laminate

    A clear overlaminate goes on where the film calls for it, setting the sheen and protecting the print. Pre-textured films like Avery MPI 2630 and 2631 skip this step.

    SpecMatte, luster or gloss sheen

  6. Step 06

    Plan panels and seams

    Seams are placed where they show least, panels are numbered, and plumb lines are marked in pencil. Panels overlap so no gap opens at the seam.

    SpecAvery: overlap at least 0.5 in (13 mm)

  7. Step 07

    Cut and number

    Each panel is trimmed on a digital cutter, numbered in hanging order and rolled for the trip to site.

    SpecMactac: print an extra 1/2 in each side for overlap

  8. Step 08

    Prep the wall and apply

    Install day starts with cleaning: a lint-free wipe, then 70% isopropyl alcohol and 30% water for 3M films. Panels go up dry and hinged at the top. The liner comes off behind a squeegee pulled in firm, overlapping strokes. Bubbles get a pin prick and another pass.

    SpecMin. application temp: Avery MPI 2600 40°F, ORAJET 3628 50°F

  9. Step 09

    Trim, finish and record

    Corners and door edges are trimmed back and every edge gets a final firm pass. Outlet and switch plates come off and go back on over the film (installer practice). Avery asks installers to record the install date, film lot and conditions for warranty claims.

    SpecAvery: trim 1/4 in at corners, 1/8 to 1/4 in at doors

How Ardor runs a wall project

Same materials science, our process. Four steps from first photo to finished wall.

  1. Step 1

    Measure and consult

    Send photos and rough measurements, or we come on site to measure and check the surface.

    Free on-site estimate

  2. Step 2

    Design and proof

    Ardor's in-house designers build the art or prepare yours, then show a proof on your wall before anything prints. Design is quoted separately.

    You approve the proof first

  3. Step 3

    Print in-house

    We print on indoor or outdoor wall film matched to your surface, your removal plans and the fire rating your space needs.

    Removable or permanent film

  4. Step 4

    Install by Ardor's crew

    Our own installers prep the wall and apply the graphic on site. A single wall usually takes one day. Multi-wall, floor and building projects take several days.

    After-hours installs available

End of life

Removal: how a wall wrap comes off

Removable wall film is made to come off in one piece, and it still carries some risk. Avery's install bulletins say to start at the top and pull slowly at 120 to 180 degrees, with no chemicals. Cutting the graphic into 12 to 24 inch strips makes removal easier, as long as the blade does not cut into the wall.

Heat helps on hard surfaces. Avery allows a wallpaper steamer only when the wall is not wallboard. On drywall, plan for a possible paint touch-up.

Avery does not warrant wall damage from removal, even with removable adhesive, and says removability is not guaranteed over aged paint or paint that is poorly bonded to the wall. Permanent films are made to stay, and removing them damages paint.

  • Pull angle: 120 to 180 degrees, slowly (Avery)
  • Strip width: 12 to 24 in, or 300 to 600 mm (Avery)
  • No chemical removers (Avery)
  • Steamer only on surfaces that are not wallboard (Avery)
Reels

Watch a wall go up

Short clips from Ardor jobs: panels rolling out, seams lining up and panels coming off the cutter.

See all reels

Projects

Finished walls

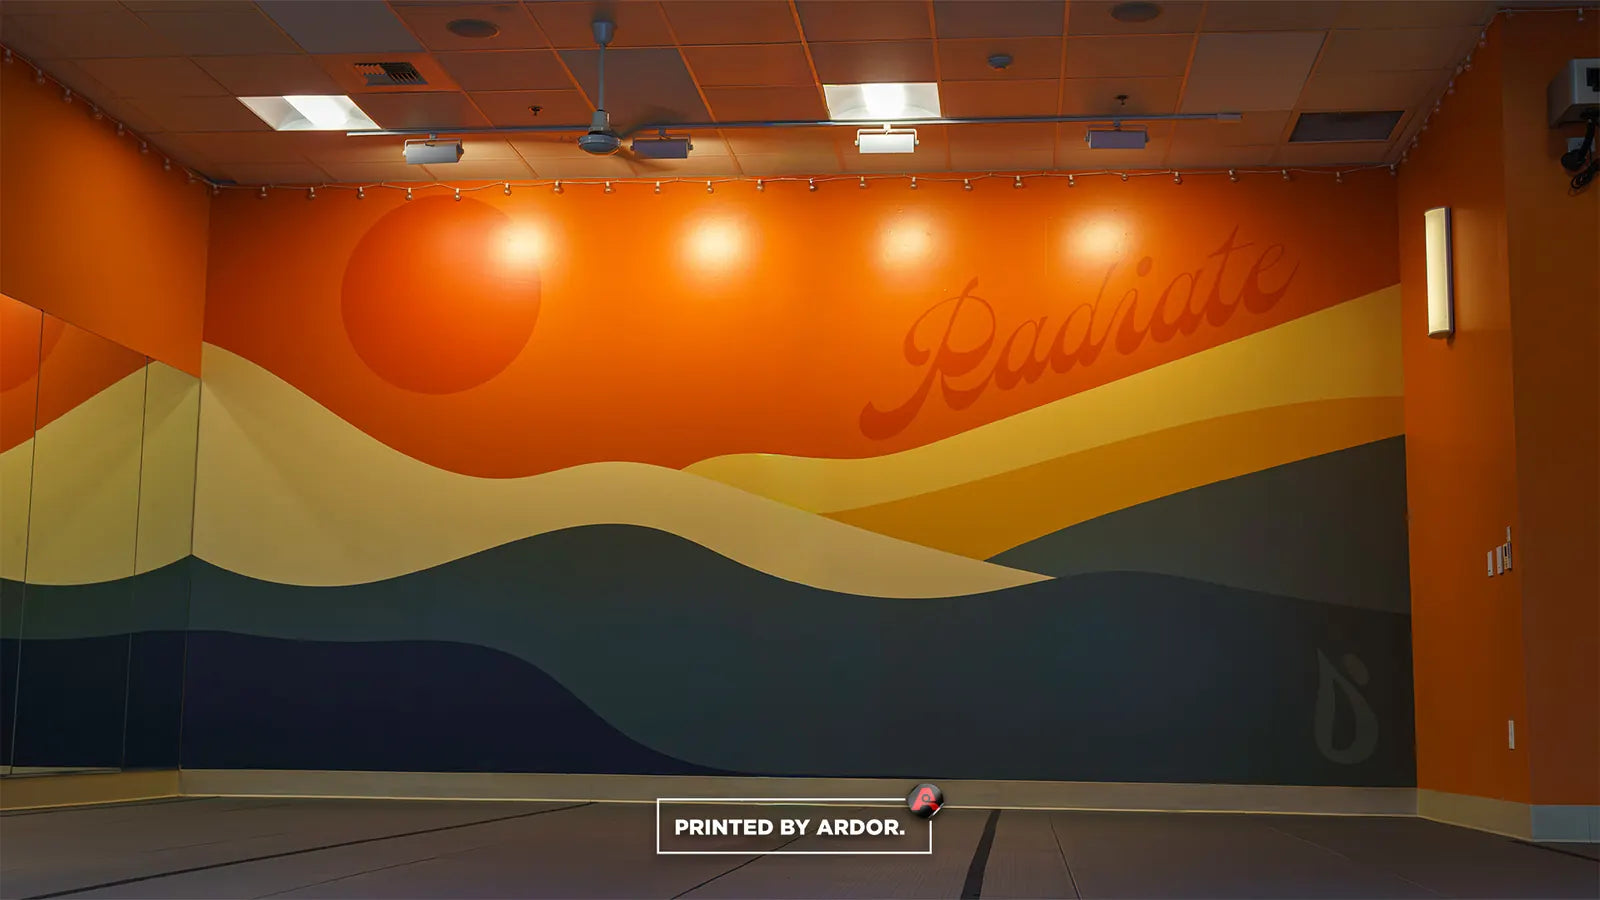
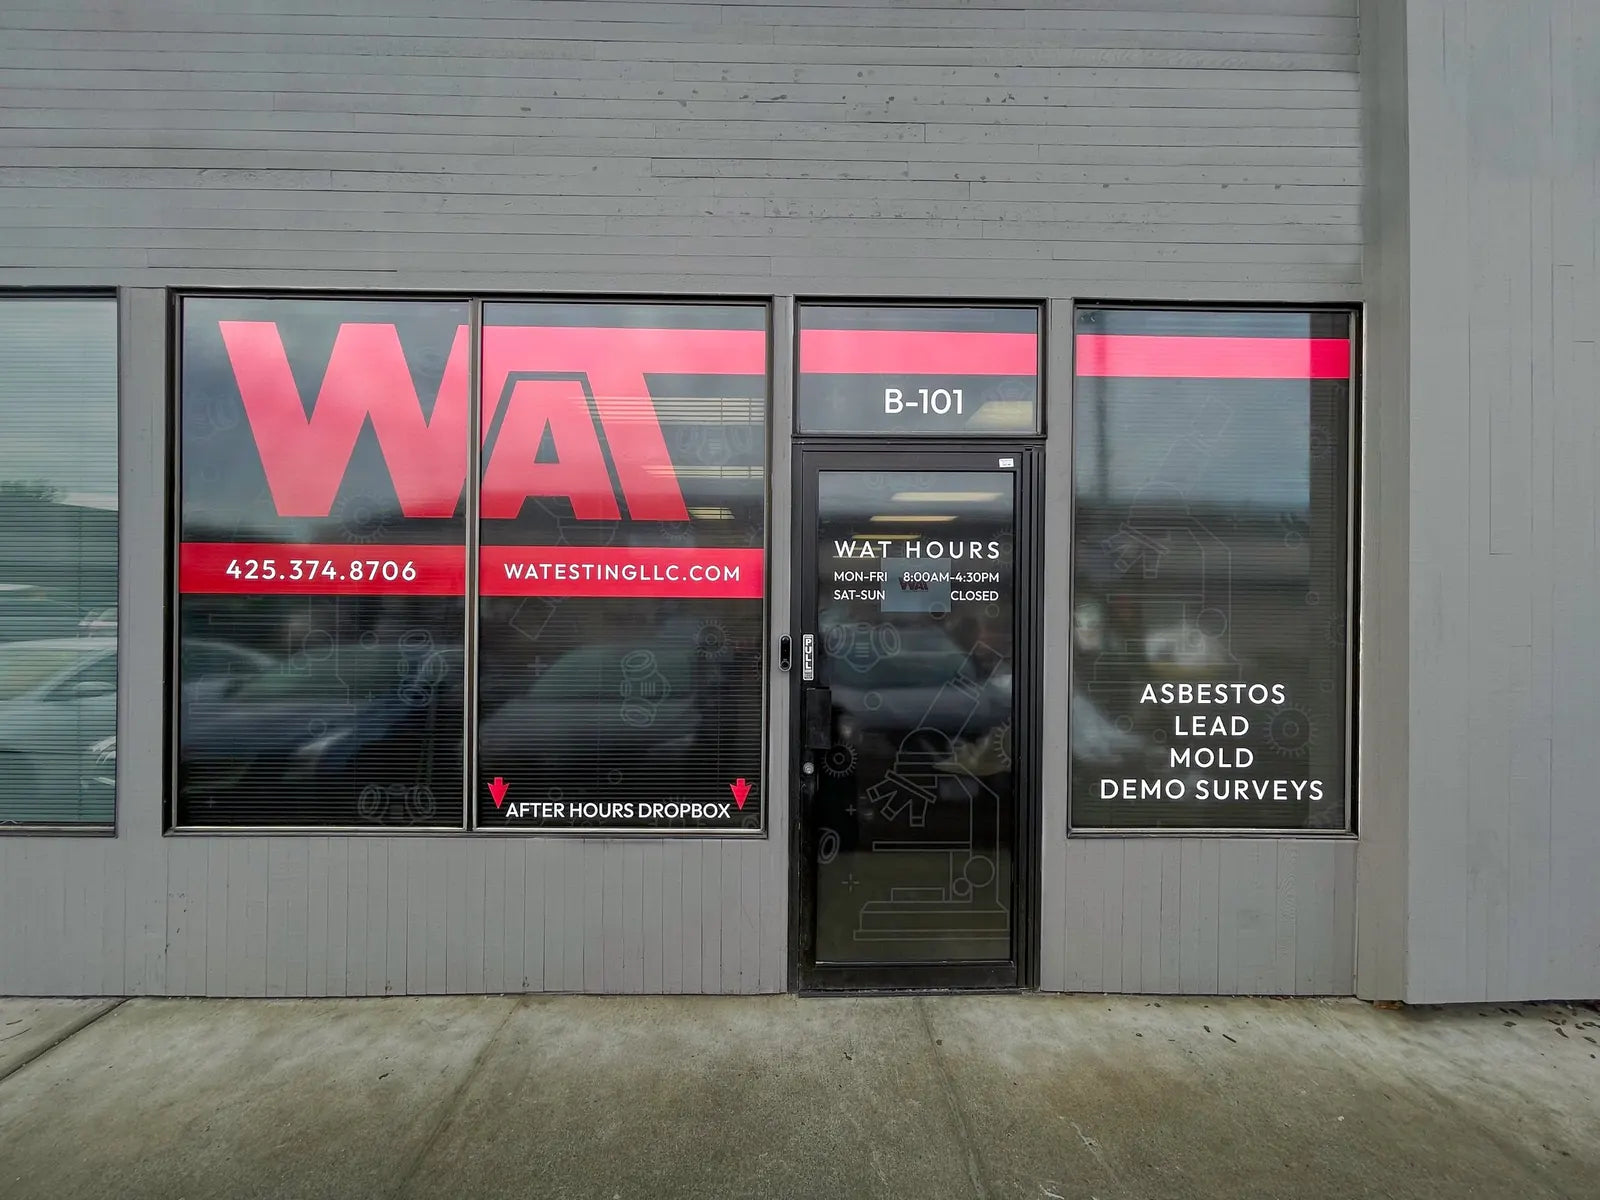
Offices, churches, gyms and restaurants Ardor has printed and installed.

See every project

8 projects

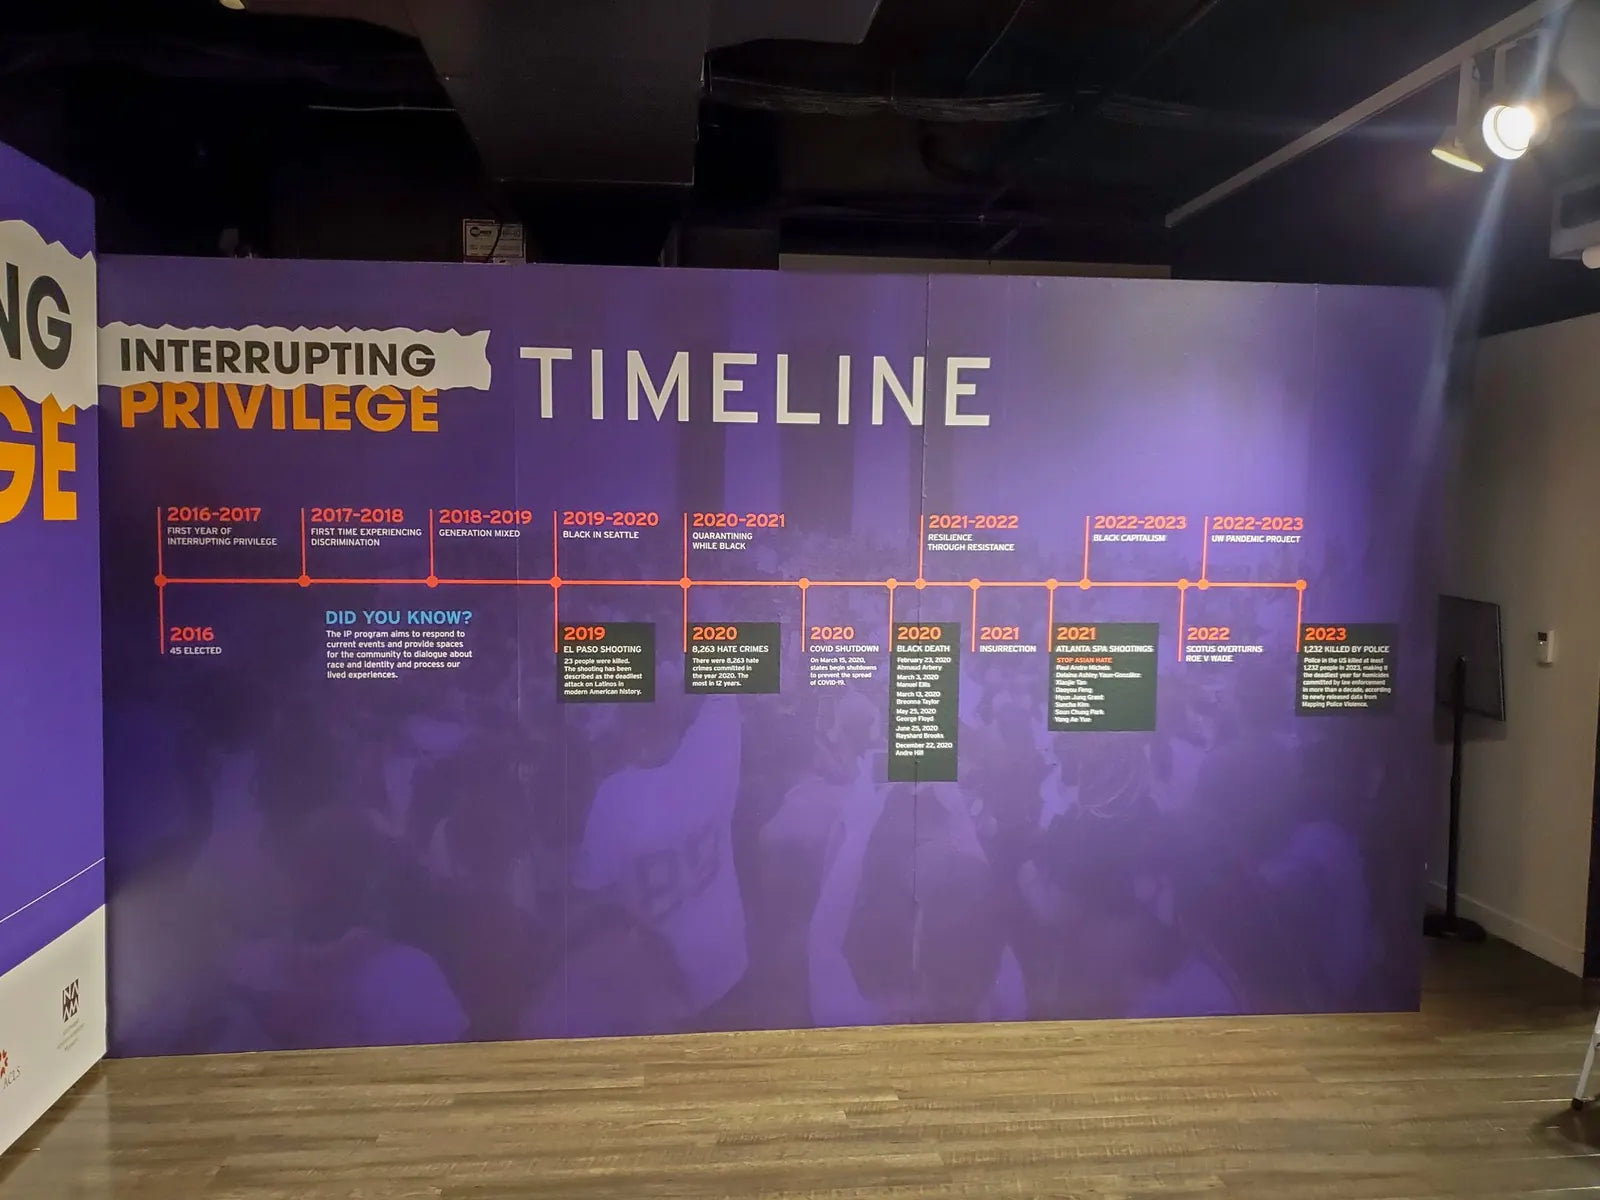
  • Floor-to-ceiling purple wall wrap printed with an Interrupting Privilege timeline of program milestones by year
    Exhibits & Museums

    Program Timeline Wall

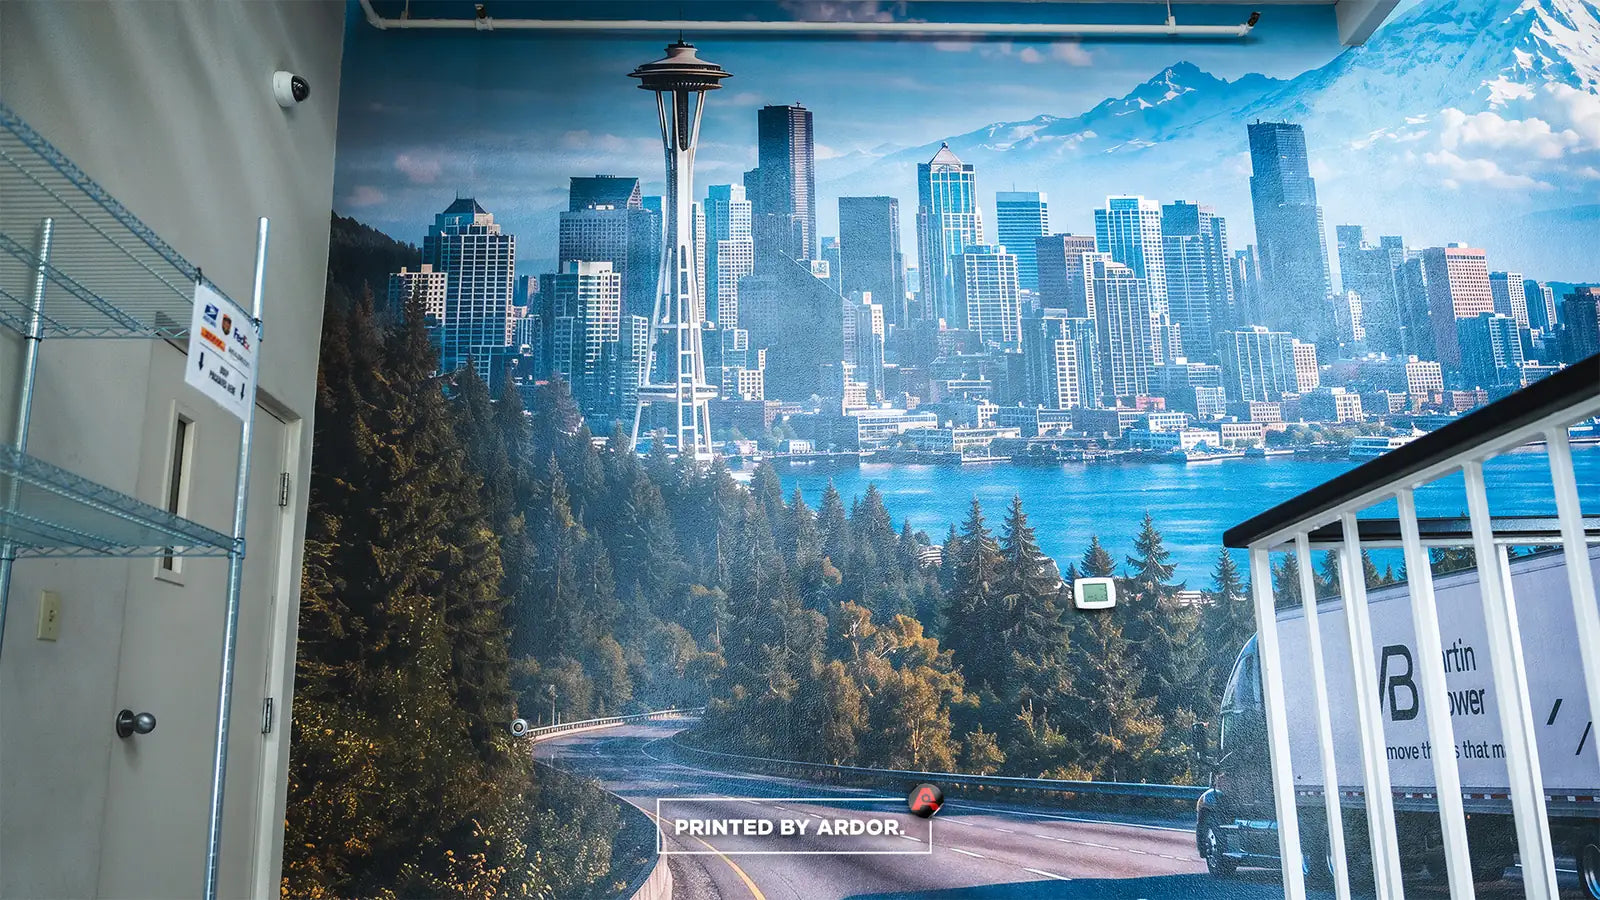
  • Office wall mural for PureDry Restoration with a Seattle skyline, phoenix logo and branded van wrapping around four windows
    Offices & Lobbies

    Seattle Skyline Office Mural

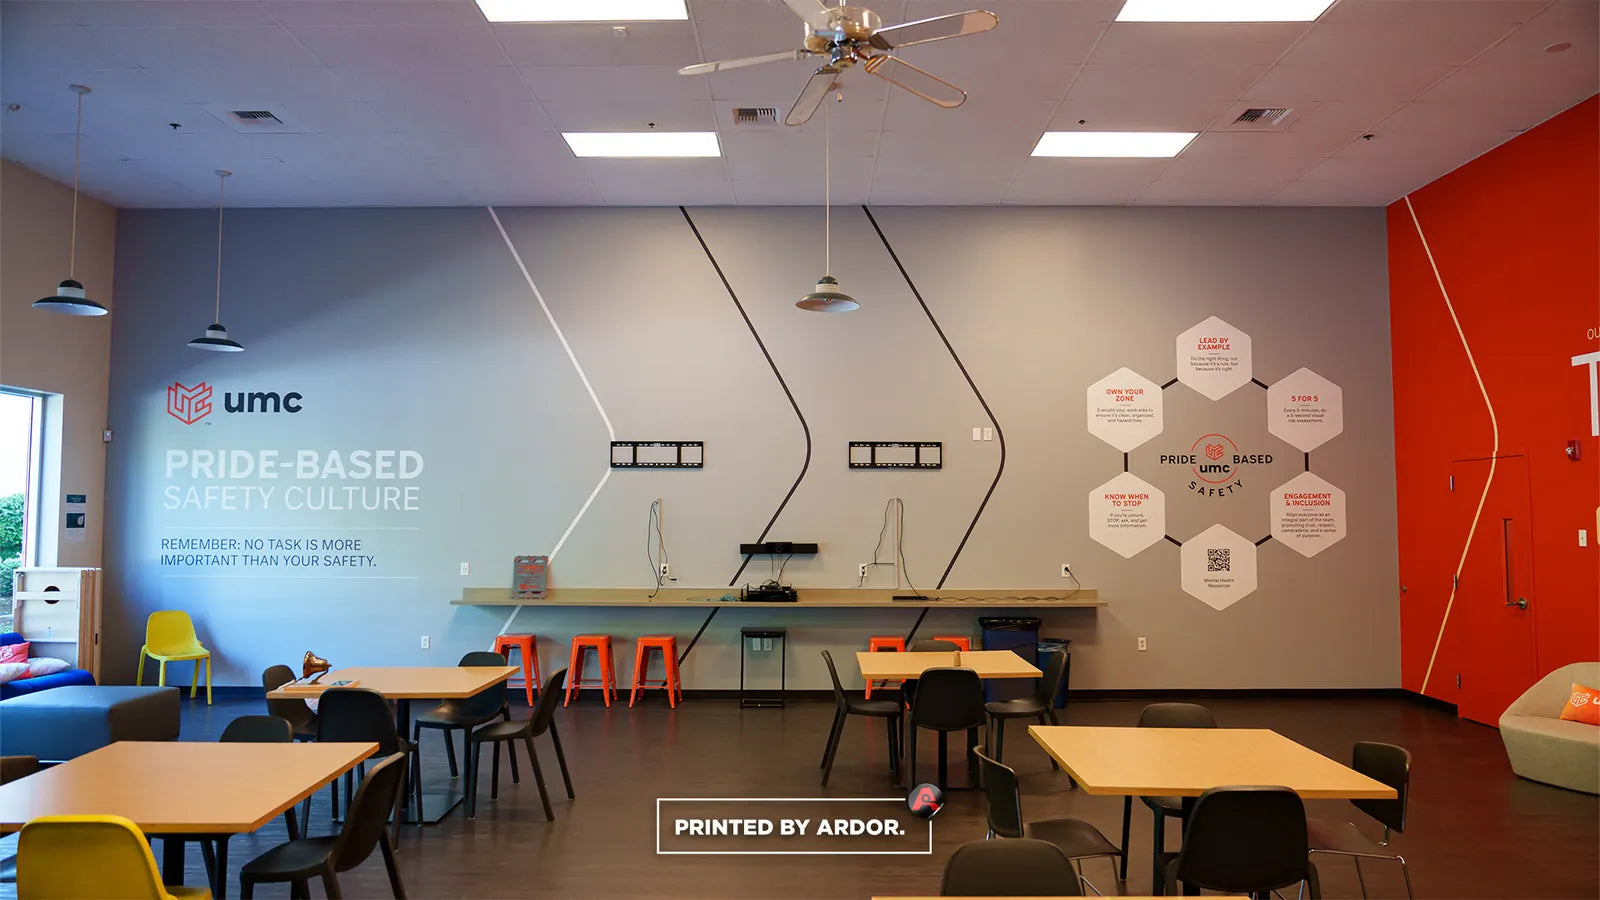
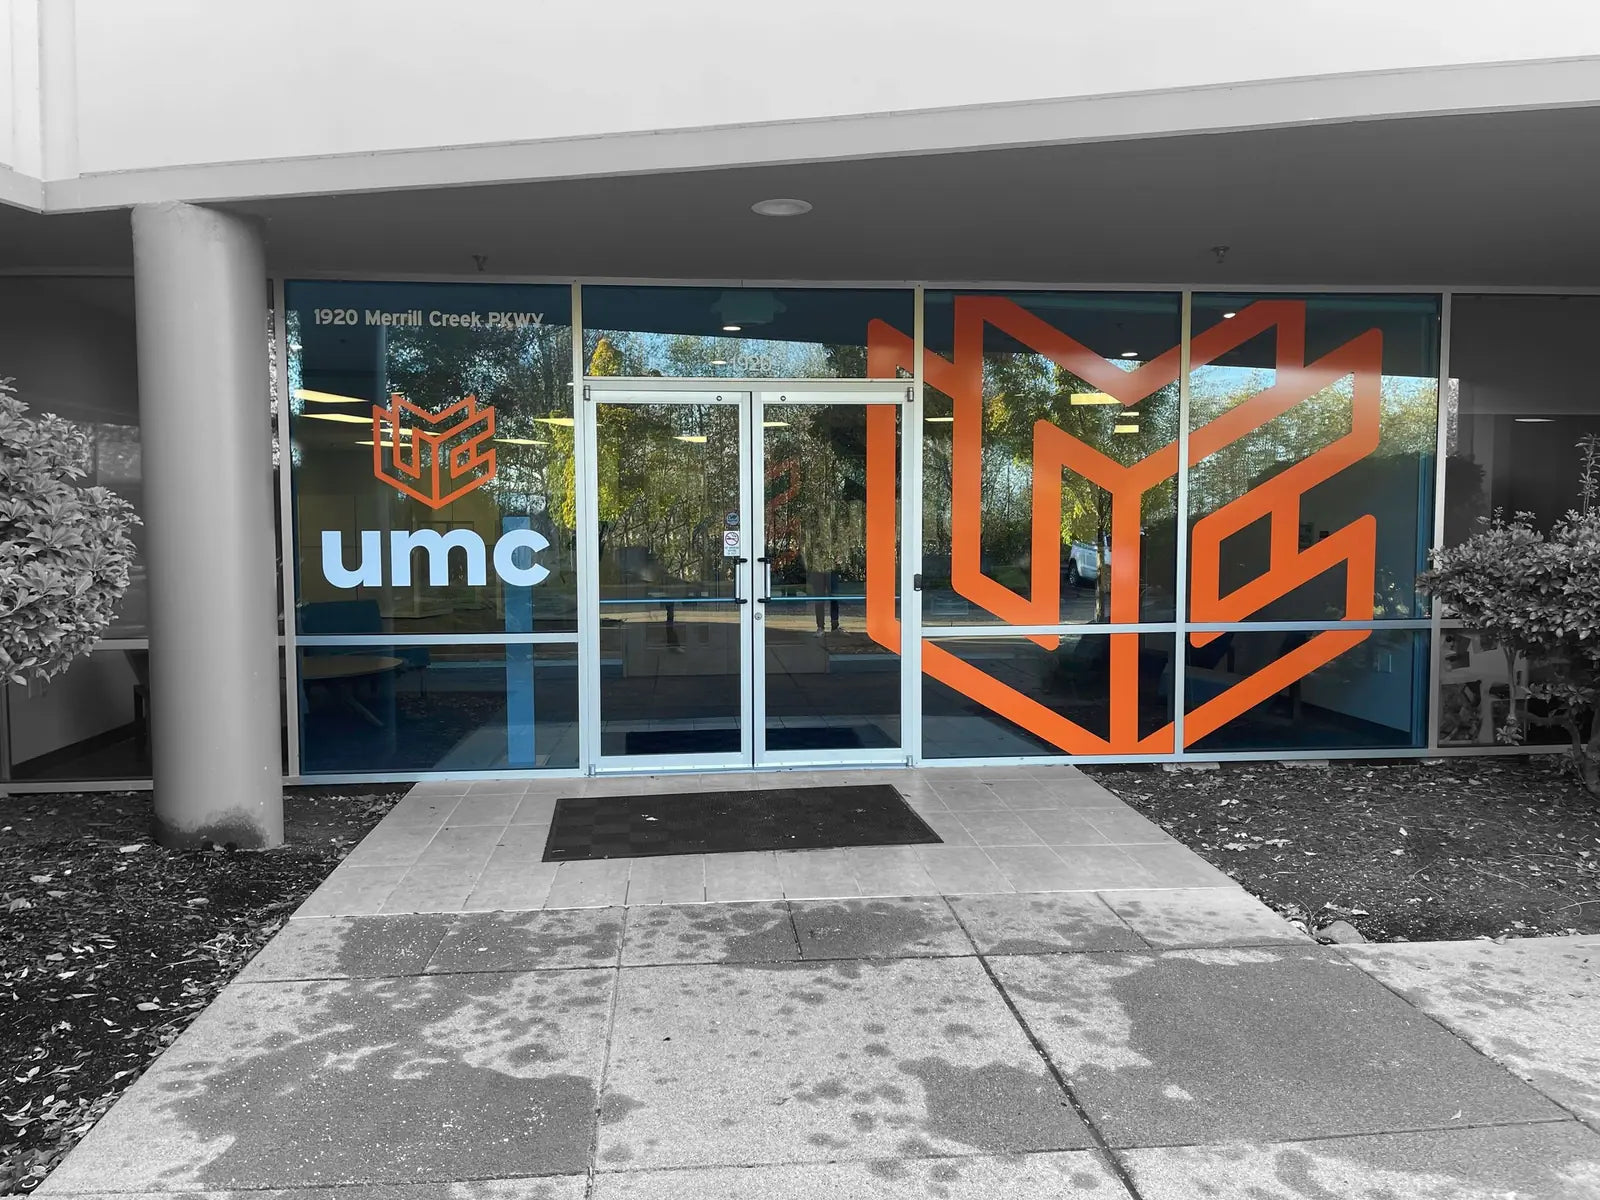
  • Commercial building entrance with a large orange UMC logo window graphic and white UMC lettering across the front glass
    Windows & Storefronts

    Entrance Logo Window Graphics

  • Full-wall photo mural of a packed football stadium with the Alabama Crimson Tide elephant logo, installed around a door in a finished room with a hardwood floor
    Other

    Full-Wall Stadium Fan Mural

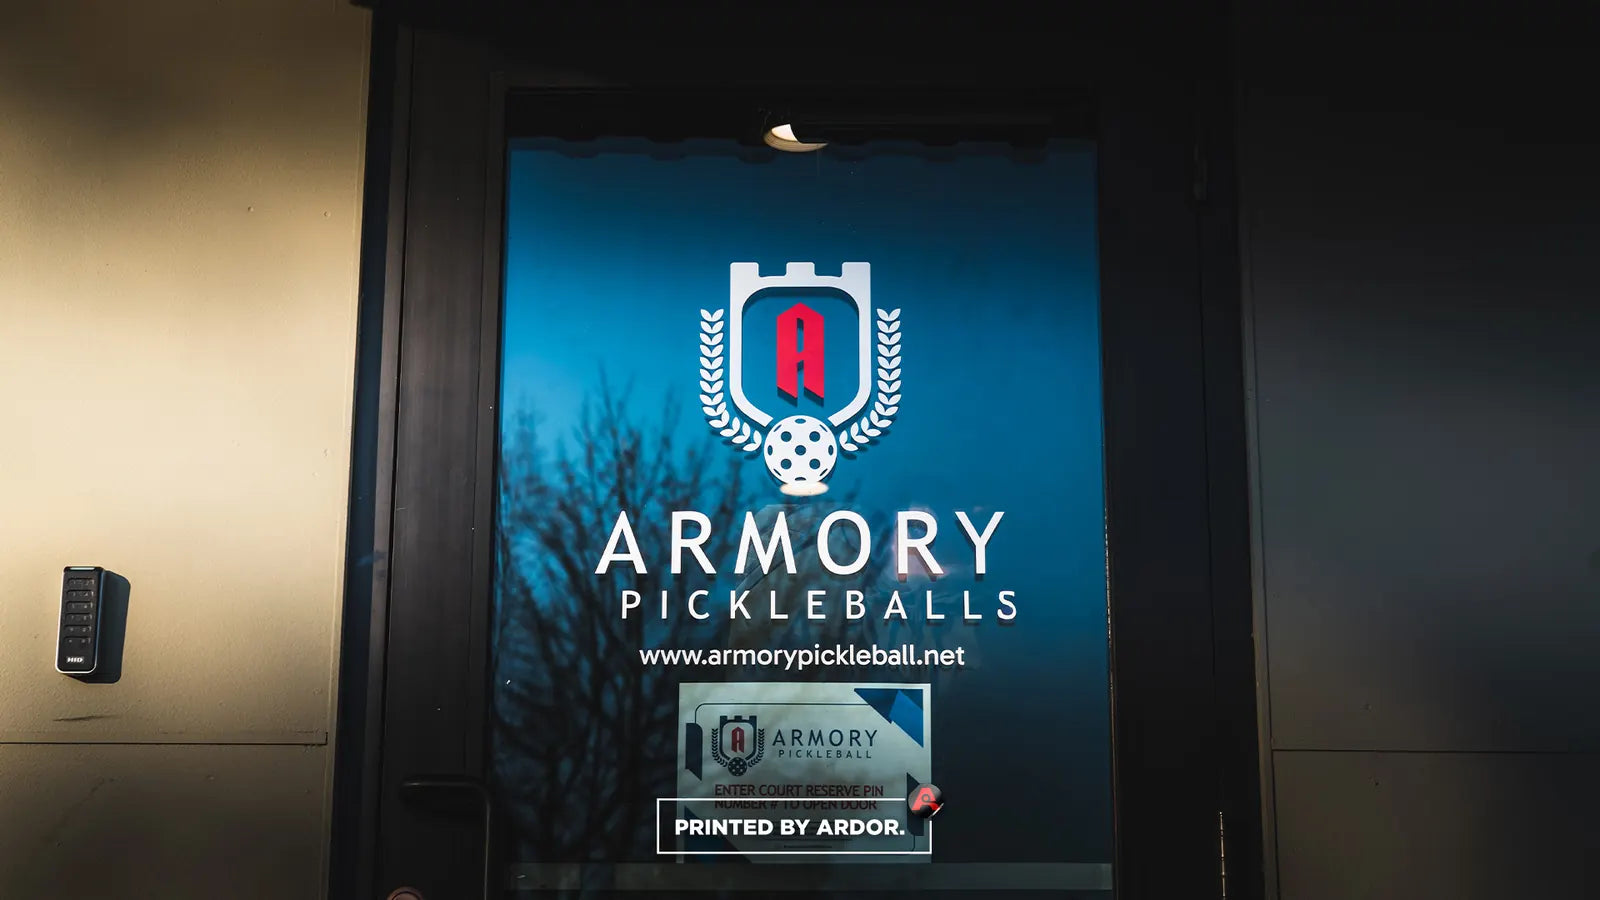
  • Blue wall graphic with the Armory Pickleballs crest logo and website printed beside a facility entrance door
    Gyms & Schools

    Facility Entrance Wall Graphic

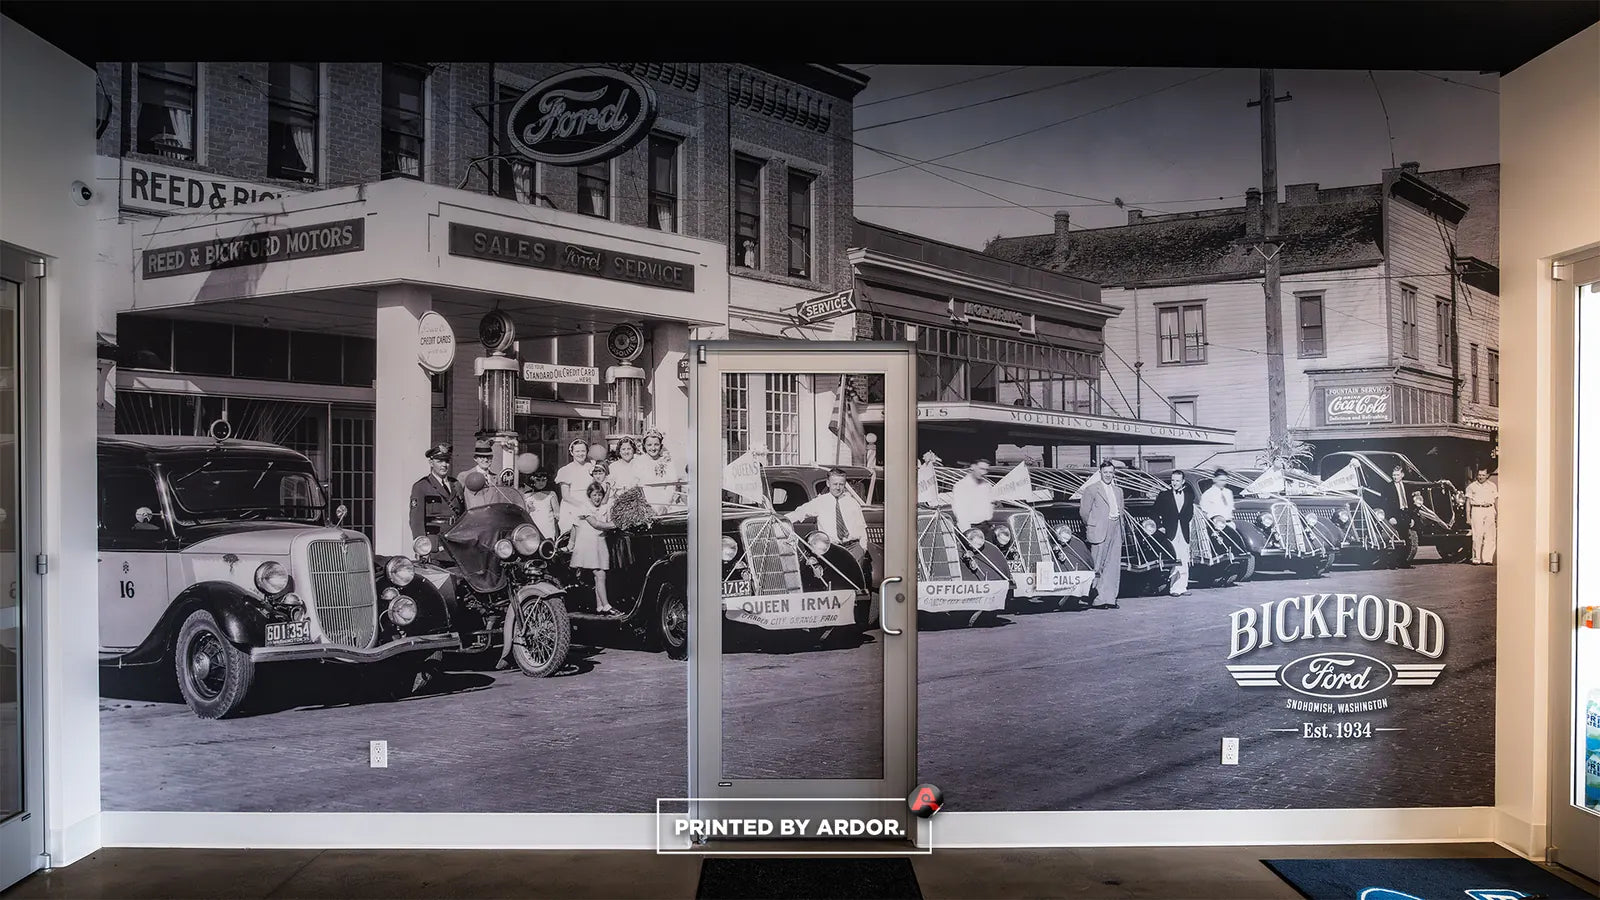
  • Black and white historic street photo mural of vintage Ford cars on a dealership wall with the Bickford Ford logo and a glass door
    Restaurants & Retail

    Historic Photo Showroom Mural

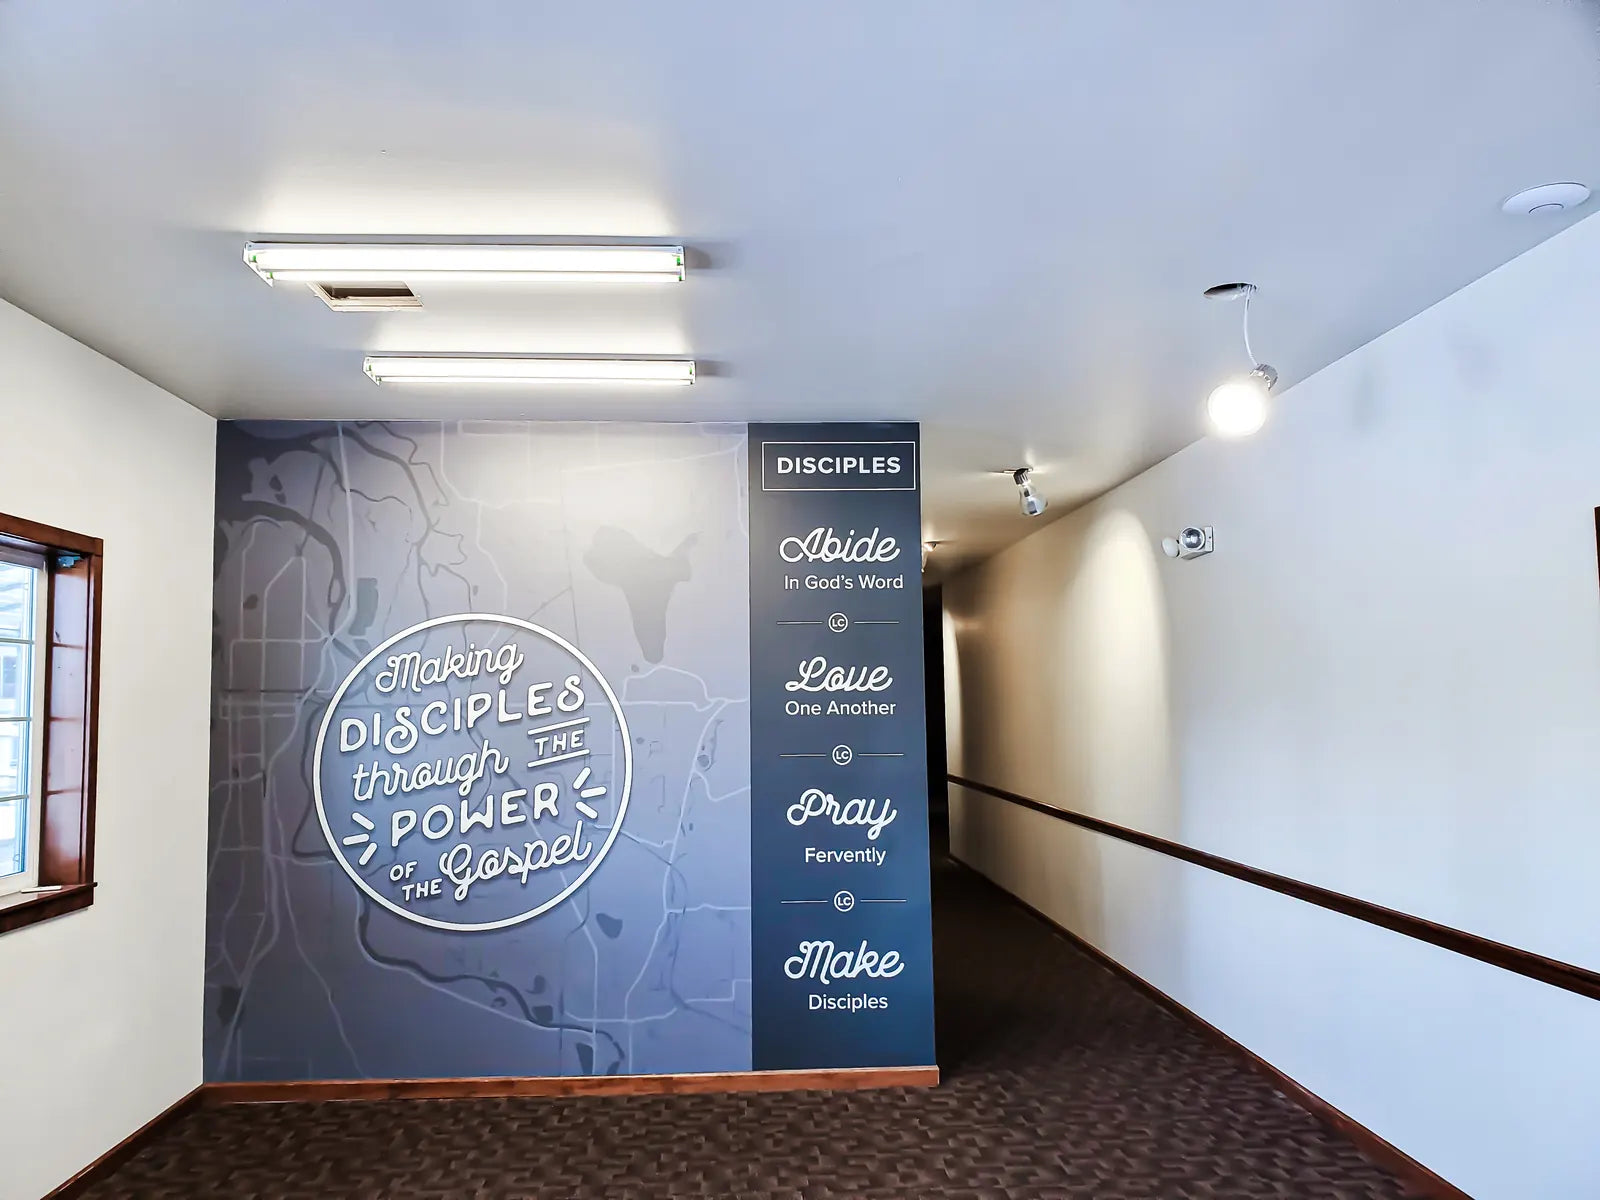
  • Church hallway wall wrap with a "Making disciples through the power of the Gospel" seal and four values: Abide, Love, Pray and Make Disciples
    Churches

    Mission and Values Hallway

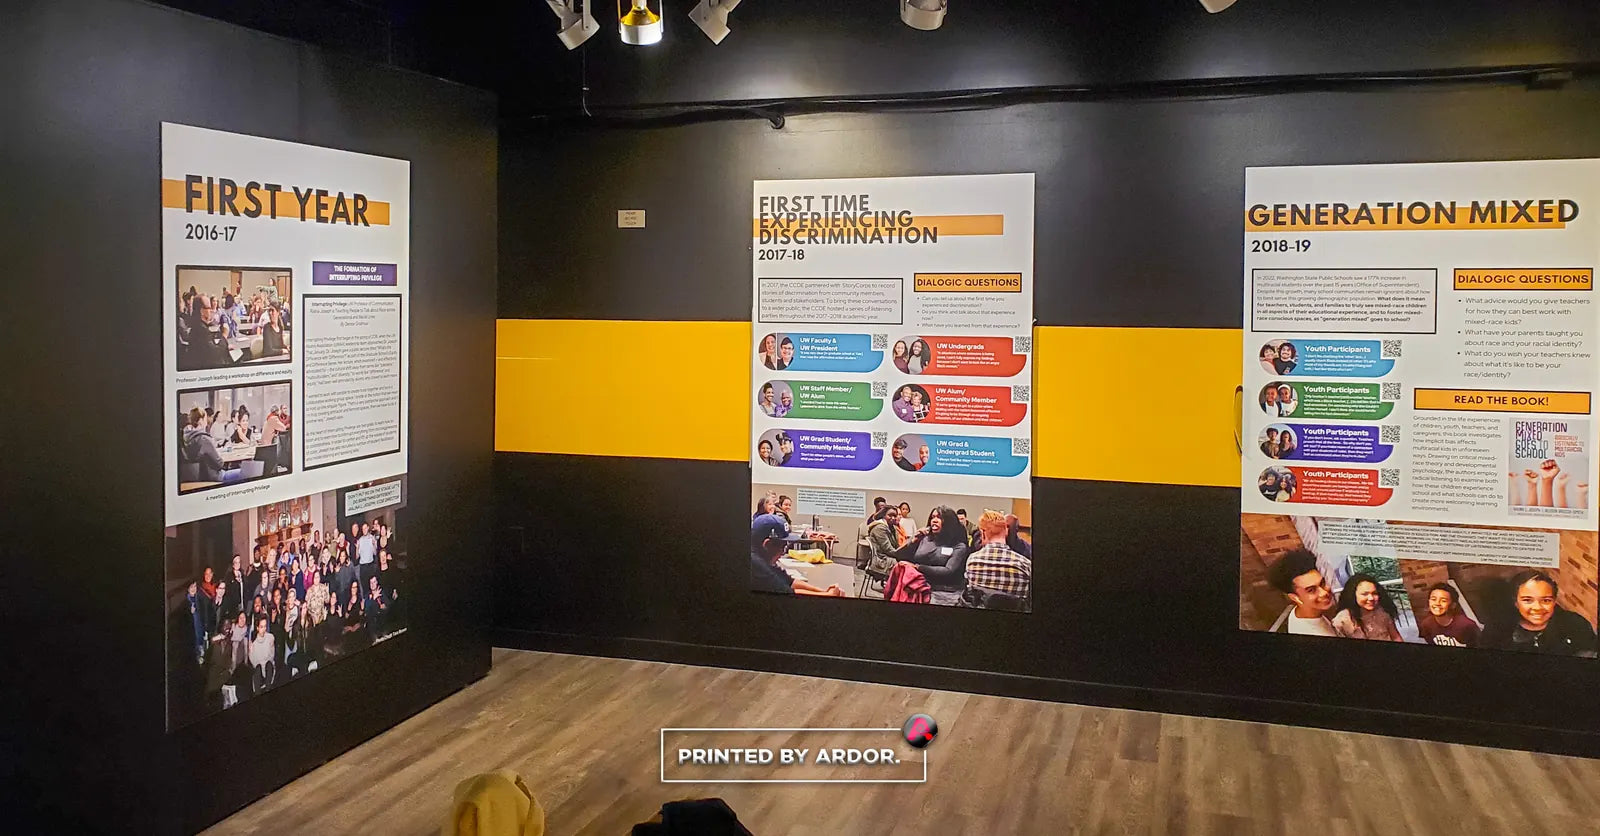
  • Museum exhibit wall with black and yellow wall wrap and large printed history panels titled First Year and Generation Mixed
    Exhibits & Museums

    Museum Exhibit Walls and History Panels

FAQ

Frequently asked questions

What is a vinyl wall wrap made of?

Four manufactured layers on top of your wall: a clear overlaminate, the printed ink, a printable wall film (usually vinyl, sometimes PVC-free) and a pressure-sensitive adhesive. The wall's paint is the fifth layer and the one everything depends on.

How is a wall wrap installed?

The wall is cleaned, then panels are applied dry from the top down with a squeegee, overlapping at seams by at least half an inch (Avery). Edges are trimmed at corners, doors and outlets, and the whole graphic gets a final firm pass.

How soon after painting can a wall wrap go up?

Avery and Mactac say at least 7 days after the final coat. Some latex paints take 30 to 90 days to fully cure (Mactac), so an adhesion test on the wall is a better guide than the calendar.

Do wall wraps have seams?

Large walls are printed in panels, so yes. Panels overlap at least 0.5 inch (Avery), and seams are planned for spots where they show least.

Will a wall wrap damage my wall?

Installing it does not. Removal can. Even removable films can lift aged or poorly bonded paint, and Avery does not warrant wall damage on removal. Permanent films damage paint when removed.

How long does a wall wrap install take?

A single wall usually takes Ardor's crew one day. Larger multi-wall, floor or building projects take several days, and installs can be scheduled after hours.

What if an edge lifts after install?

Ardor backs wall installs with a 1-year installation warranty covering workmanship issues such as lifting edges, bubbles and loose seams. Failing paint underneath is not covered, which is one more reason to test the wall first.

Free on-site estimates · Ardor Printing

Findoutwhatyourwall cantake

Ardor's free on-site estimate covers the measure, a look at your paint and surface, and a film recommendation. Call (425) 629-0796, Monday to Friday, 7am to 5pm, or request a quote online.

Handled by Ardor Printing → ardorprinting.com12531 Old Snohomish Monroe Rd., Snohomish, WA 98290